This is me documenting any decisions I make while producing the final environmental art assets for going home.
The pipeline I created for these assets is detailed along with the research I did in my blog post Here.
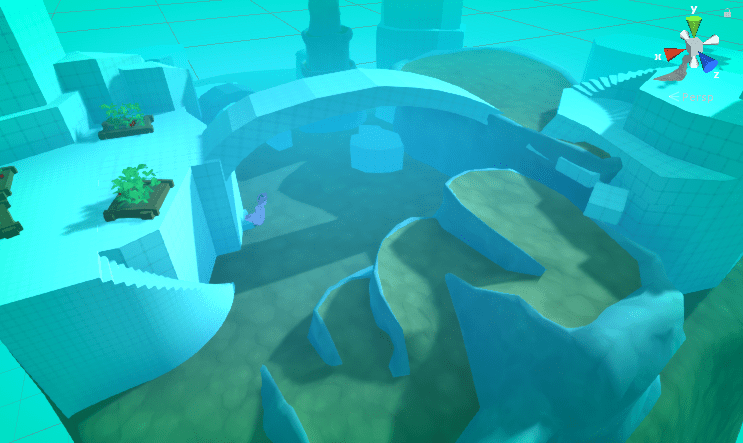
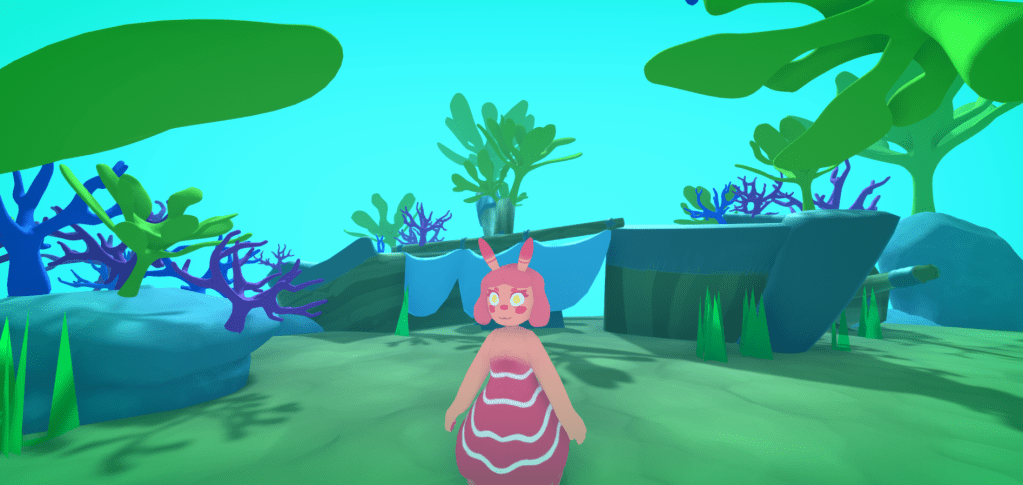
Nearly finished.
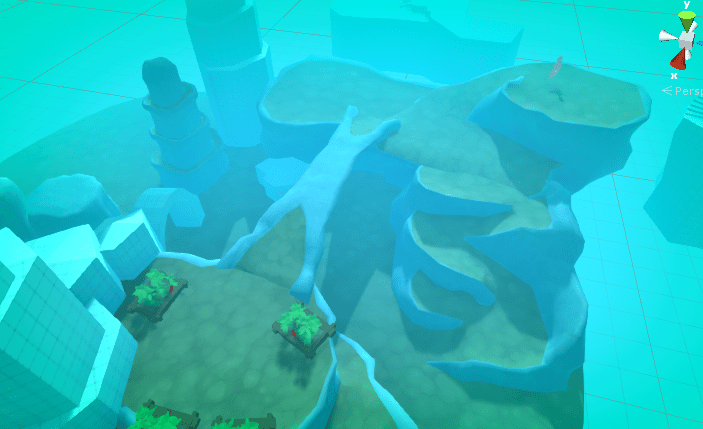
Finished
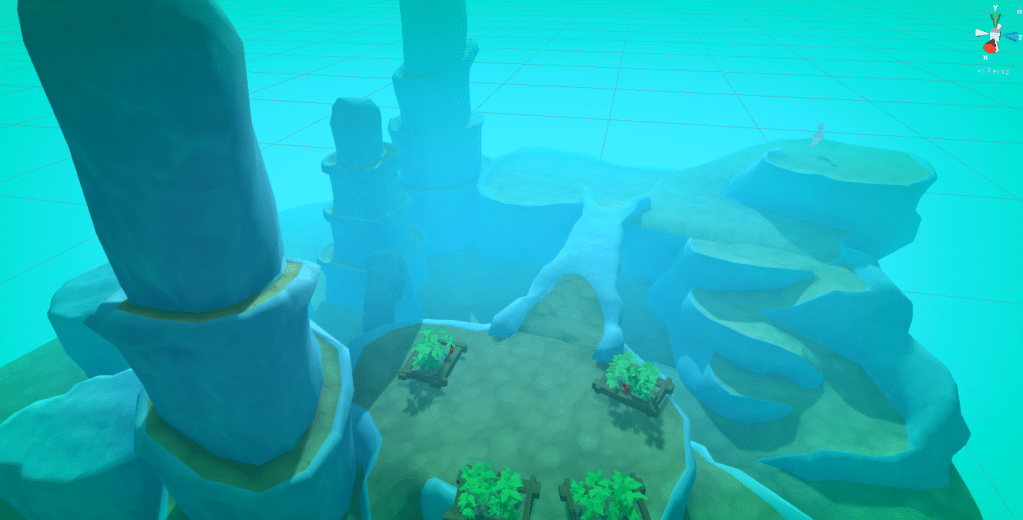
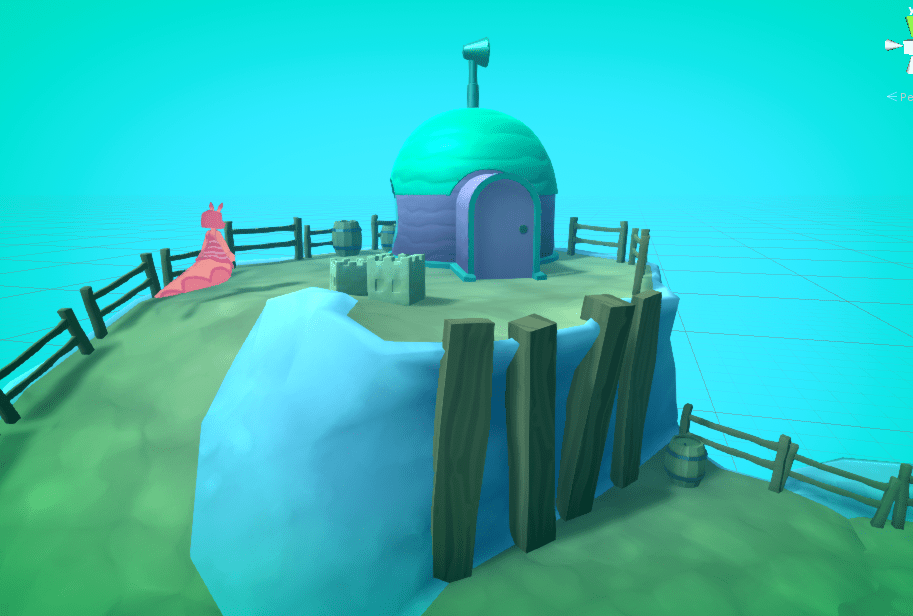
A giff flying around the finished initial terrain assets.

Megan created the small arch and small and medium flat rock assets. All the rest are my work.
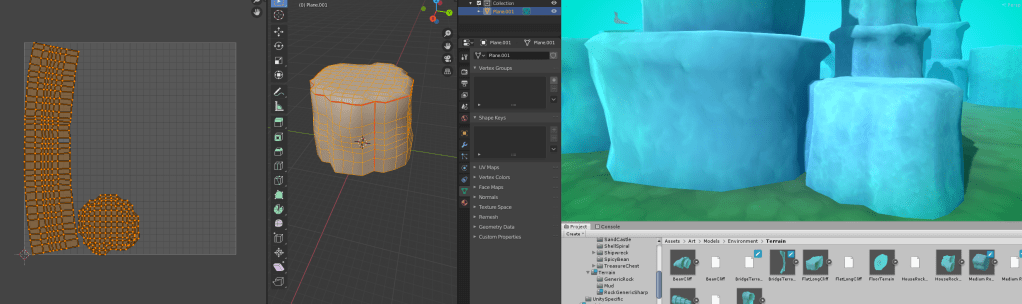
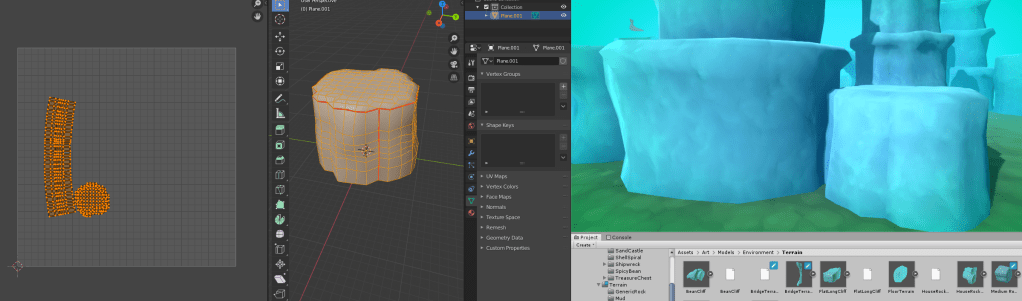
The plan now is to add the supporting props to help flesh out the scene. I have also been scaling some of the UV’s in blender to make the textures more uniform.
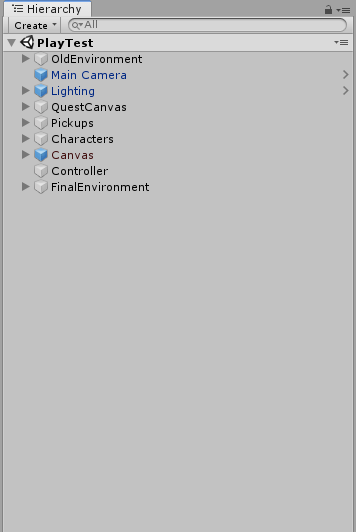
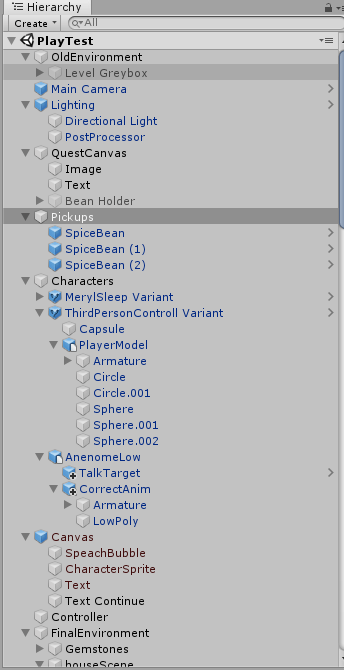
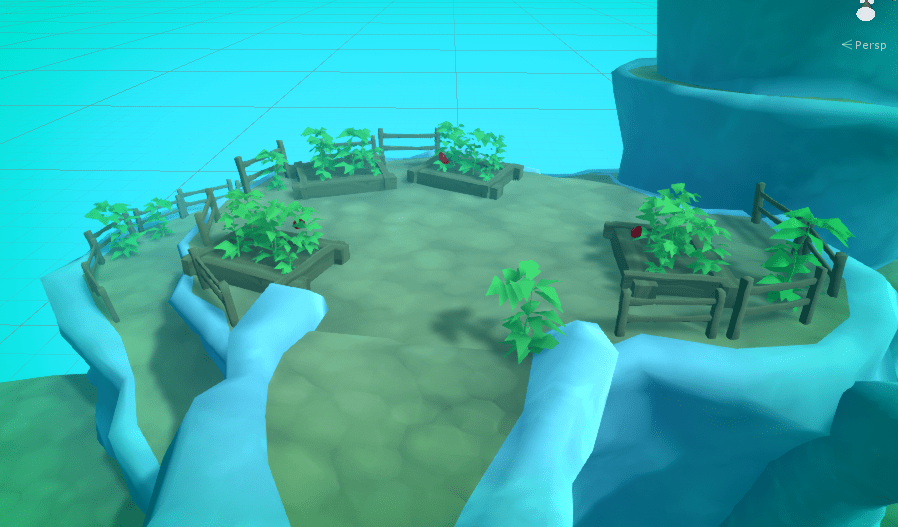
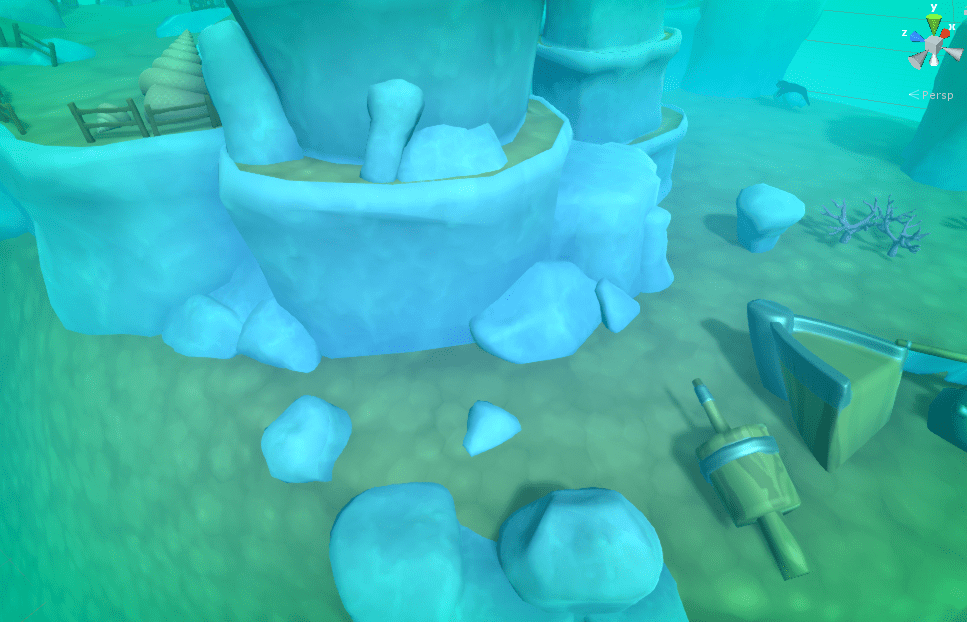
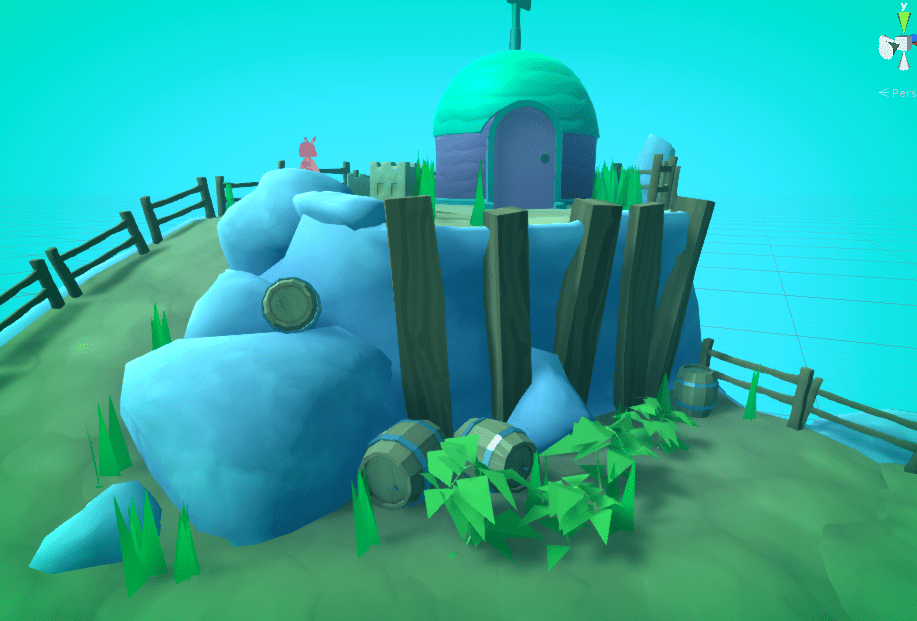
After this I started placing a lot of props to populate the scene. I made sure to organize the Hierarchy by grouping game object under empty parent game objects. So I could minimize groups of environment objects in the hierarchy, maintaining a quick workflow in the long run.
To illustrate how hard it is to navigate a badly organised hierarchy. This is the hierarchy expanded vs fully closed up.

While adding the props I also tweaked the material settings as I went along to create a better cohesion to the scene. Examples below.
Here the material on baileys is way to shiny in comparison to the rest of the scene so the lighting looks off.
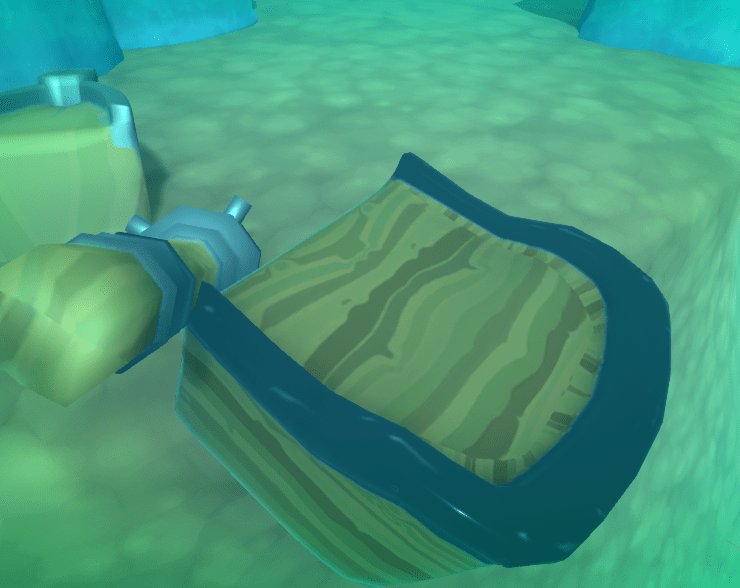
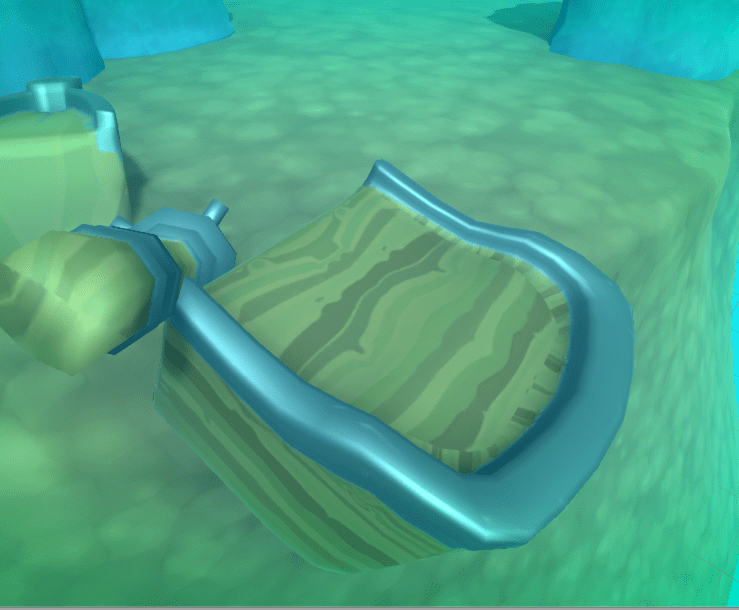
With the smoothness (value that controls how shiny a material is) turned down, the peice is much more cohesive. The metal also looks more realistic as a fully smooth metal is a mirror like material.
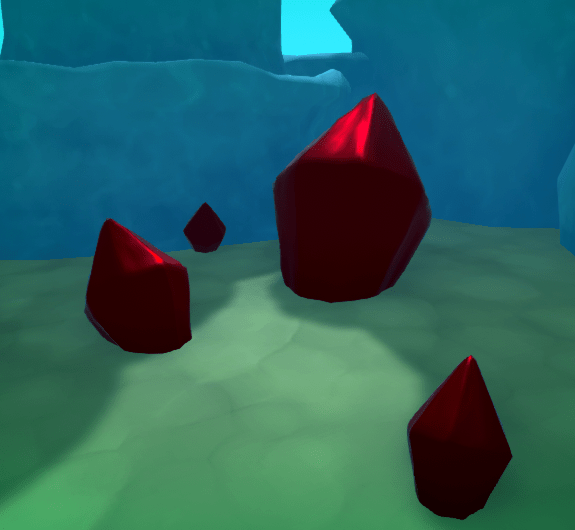
Here on the gemstones the red is way to intense.
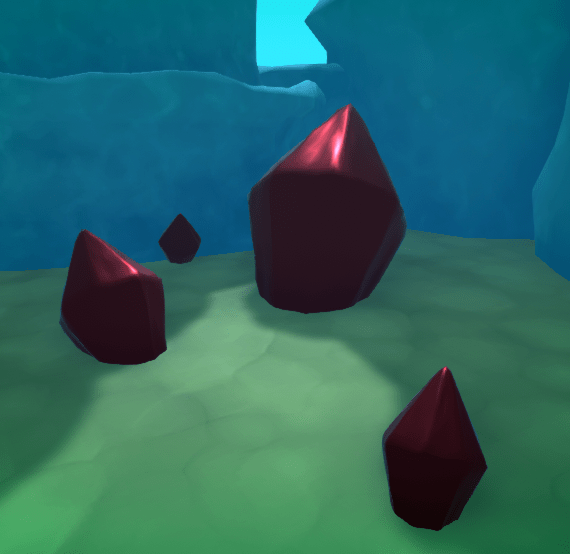
With the saturation turned down the material looks much more realistic.
Here is just a screenshot montage as the level develops.
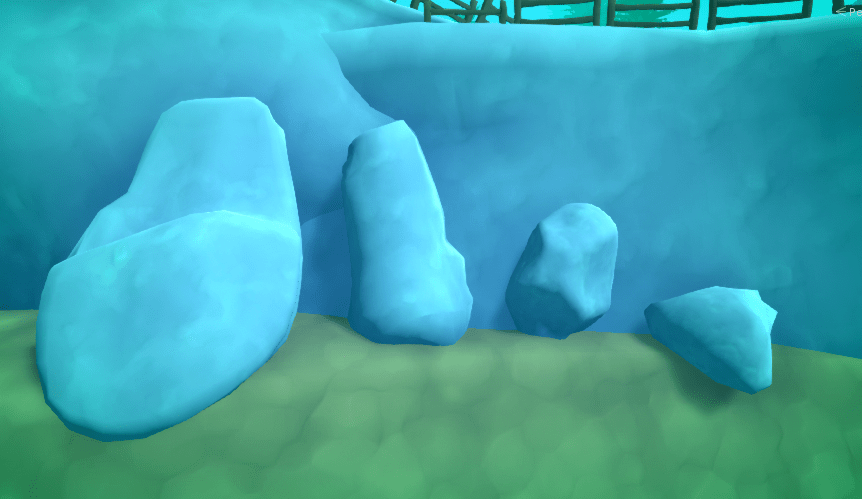
Me and Megan modeled some rocks, the 2nd leftmost is Megans, the rest are mine.
These will be used to add variety and a more natural look, to the scenes environment.
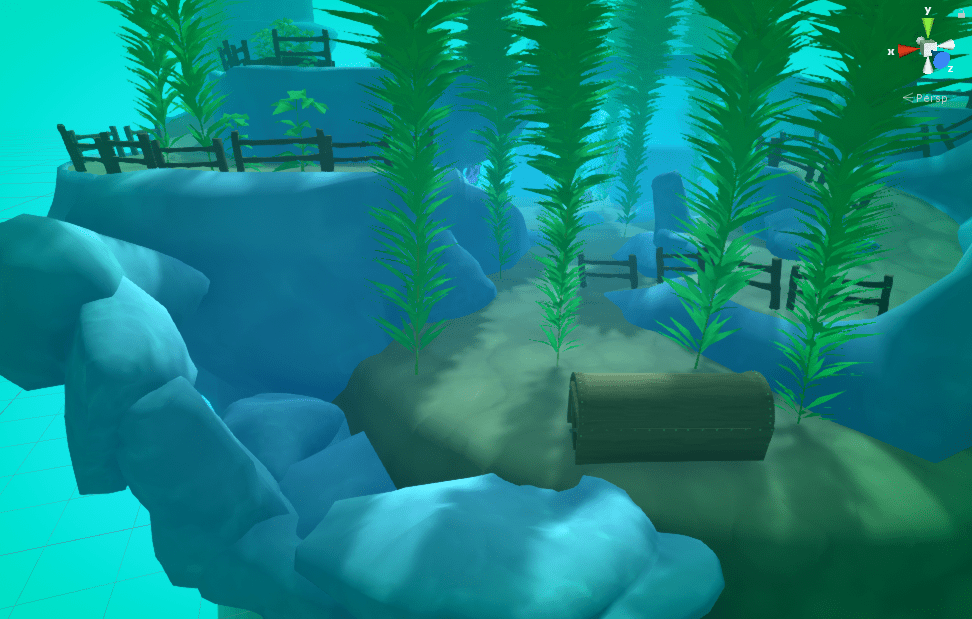
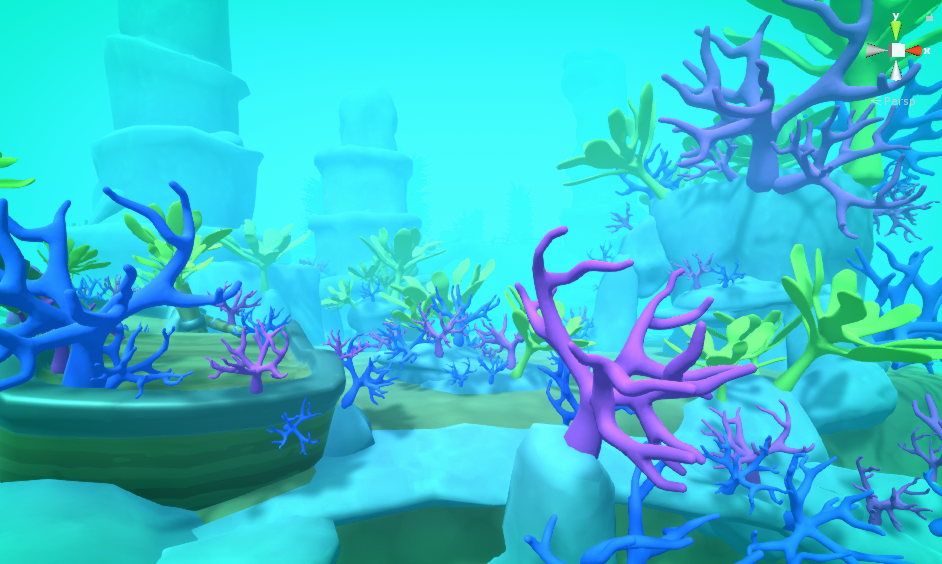
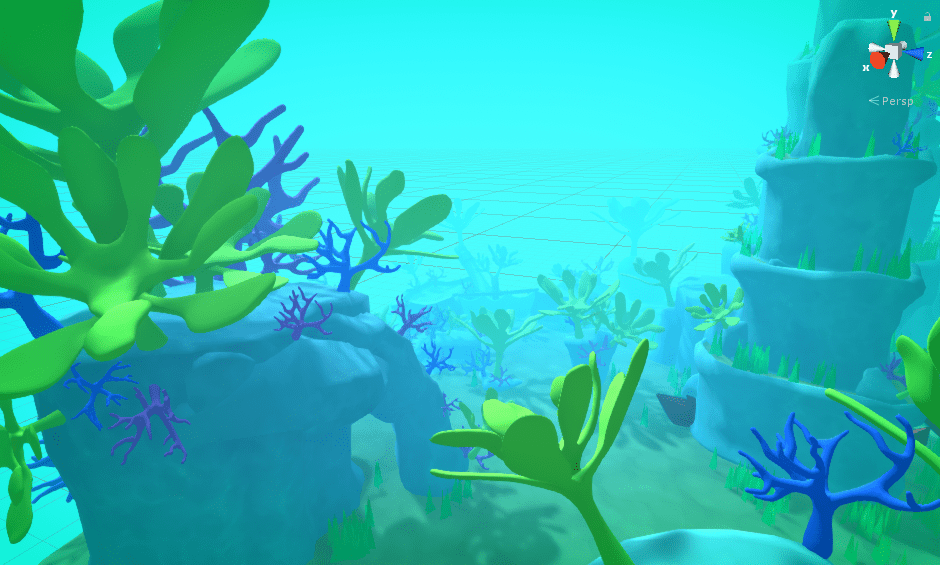
A note on coral.
I was never really happy with the outcome of the reef. The post processing really disrupted the colours on the coral and gave me a very limited colour palette to work with. In the end I ended up with the screenshot above. Which I think looks OK. I wish I had more time to model more coral models for the project.
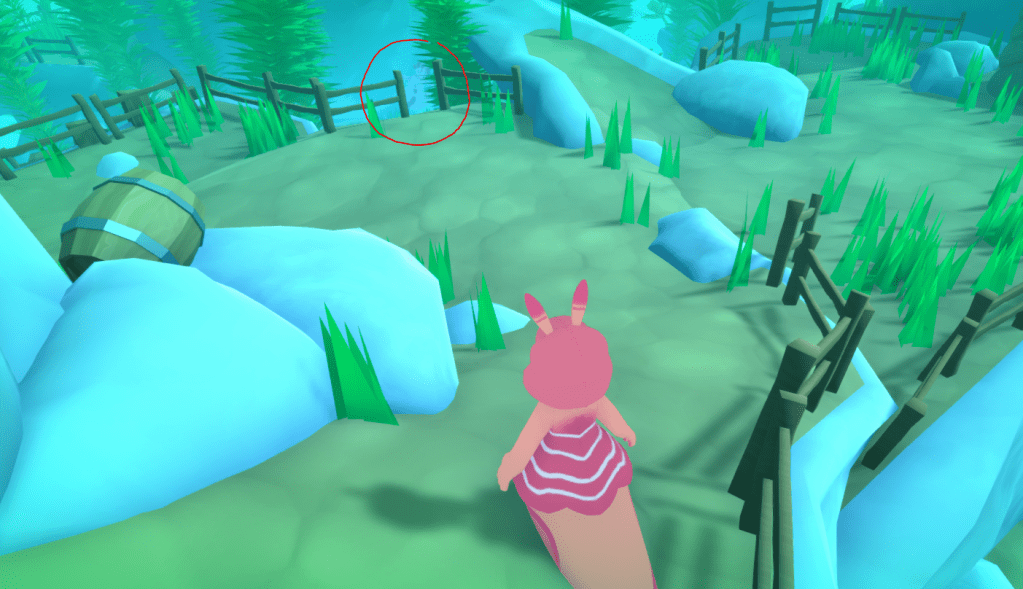
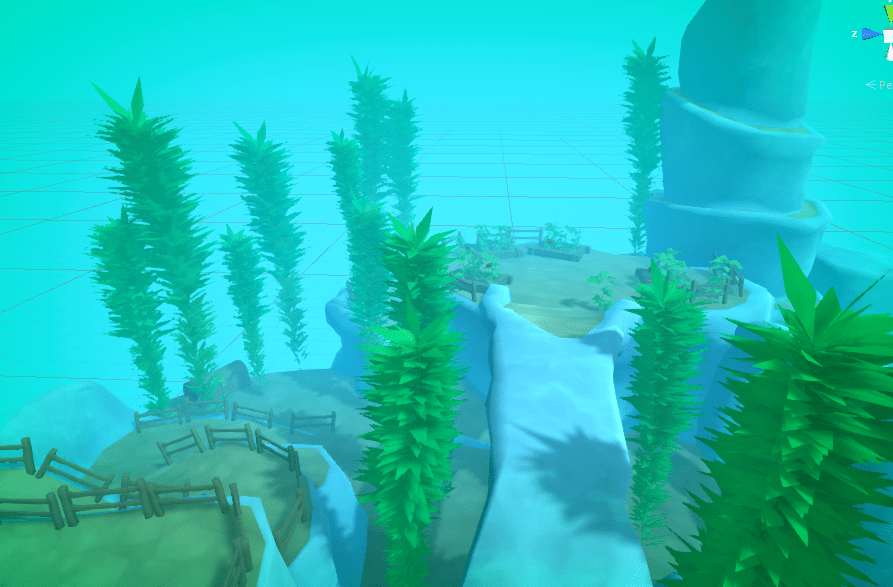
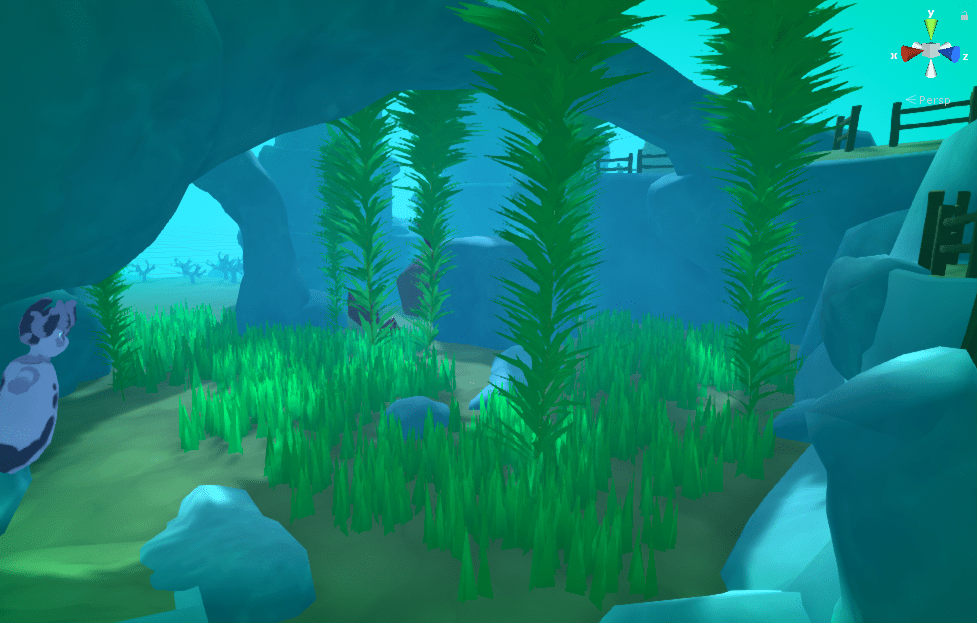
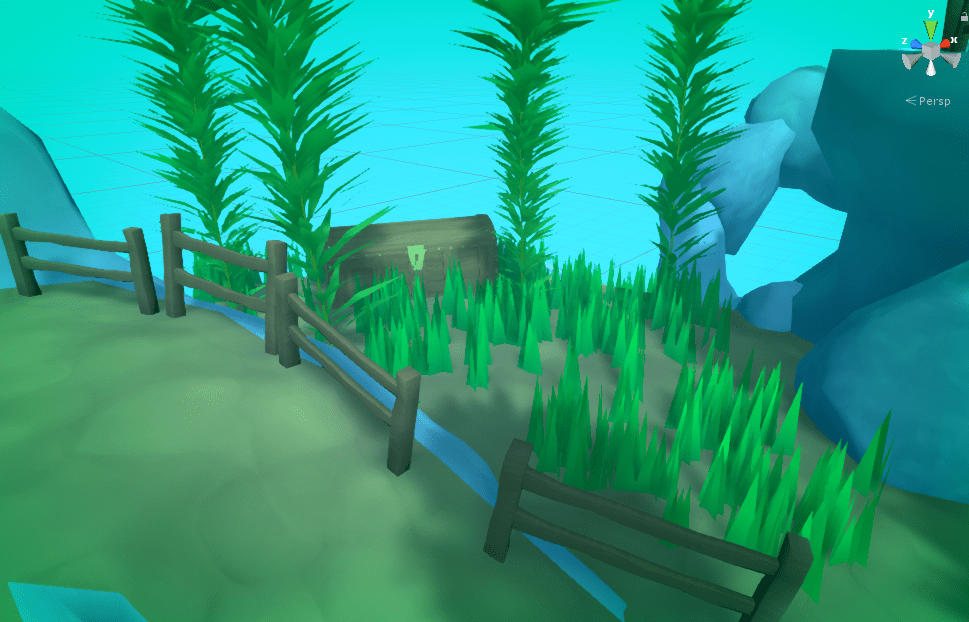
I wanted to add some variance to the grass. This is a before and after shot. I did this by selecting grass randomly form the hierarchy and scaling them up. (Which in turn effects the height of the generated grass blades)
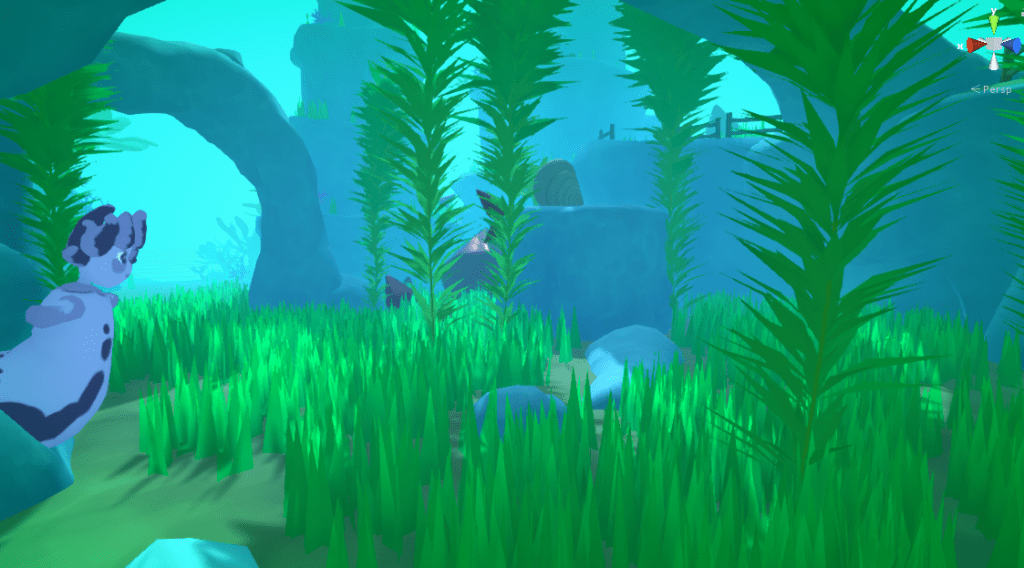
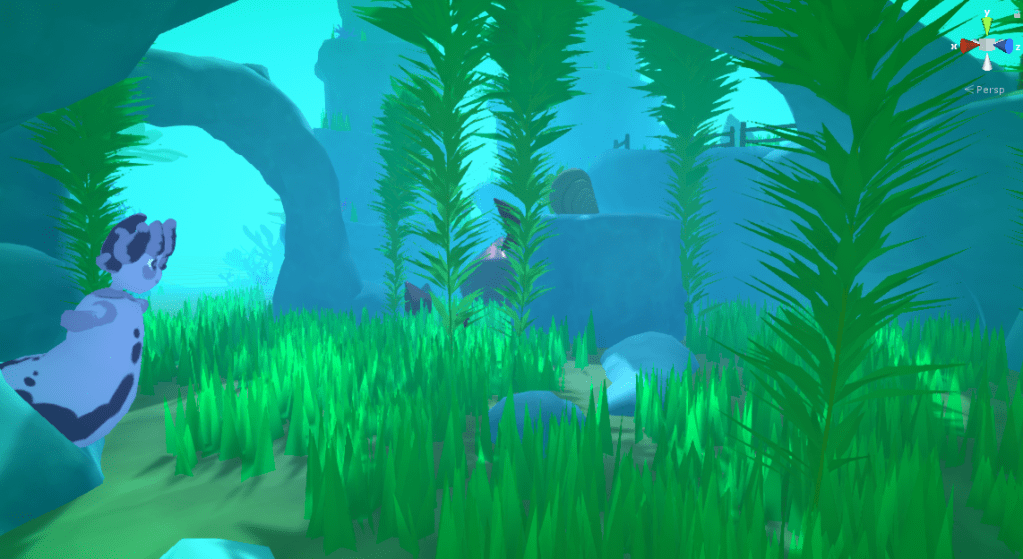
Subtle difference, but I think it makes the grass look much more natural.
This illustrates the use of Unity’s hierarchy selection. But is probably more useful as a demonstration of why good hierarchy management is important.
Now the level was nearing completion aesthetically It was time to move on to refining the game-play (and fixing some bug we needed to get rid of so we could build the game)
One problem with the level was that now Doreen was much harder to see. But this post is already gigantic. So I will address this in another post. There will also be beauty shots under the showcase section of the blog once I am finished.