Texture Creation

Documentation of references and results for the textures I created for some of the environment assets.

Wood. (For treasure Chest)

Reference
substance designer showing how warping is used to create the stylized wood.
Final Texture

Shell (For Spiral Shell. )

Sher Your Scraps: Sand and Shells Digital Scrapbooking
Reference
Free photo: Shell, Snail, Close - Free Image on Pixabay ...
Reference

The hard part about the shell is that all the texture is aligned with the curve of the shell. Its creating a texture that emulates the shell with-ought the curves, I may try to add some curve texture in painter. But in designer The texture needs to be relatively flat.

I really struggled with this one, this is the kind of thing I had for a while, trying to experiment with messing around with circles and lines overlayed with one another. But I could never get it looking good.

meh shell texture

I played around with some textures in painter for inspiration and found that a overscaled wool effect looks sort of shell like, so used that for inspiration.

Shell in painter

While experimenting I then over-drove a directional warp to discover this pattern. very usable for shells!

Which eventually developed into this shell pattern

Perhaps too pink at the moment, but this can change later.

The majority of the work is done in this directional warp here.

Directional warp.
Shell with the final texture applied.

The shell looks really great once textured in Substance painter. There is a slight gradient effect applied with the position generator, to give the texture more depth.

Reference
Sea Rock Texture.

Sandstone

The Wave - Sandstone Rock Formation, Arizona, Coyote ...

Sand

Seabed Stock Footage Video - Shutterstock
Reference.

Kelp

Reference
Designer Graph

Dirt

Necturus maculosus (Common Mudpuppy) | Flickr - Photo Sharing!
Reference
Designer graph

Kelp Flooring

Most kelp actually grows on sand/rocks… not a mud like structure, I was surprised.

Science Institute News | kelp forest
Reference
Designer Nodes

Coral Rock

A group of sea urchins devour kelp on the sea floor. (Jenn ...

Rework from original texture to simplify it.

Origonal
Final Texture

Final Grass Shader

These are some nice shots of the final grass shader in action. Alongside some coral.

The shader is from a blog a guy called Harry Alisavaki’s blog, and I can take no credit for it. https://halisavakis.com/my-take-on-shaders-grass-shader-part-ii/

There was an attempt to create a shader, but in the end a week is not anywhere near enough time for me to learn how to write these things from scratch. I still learnt a lot though!

The shader can be distributed around the scene using textures setup in blender on each face you want the shader to be present. As shown below in an earlier prototype.

The colours all all configurable, as are the noises used to create the height information, and the wind displacement.

Budgeting

I wrote up my own budget for the project as an exercise, and thought it would be good to document it somewhere so here it is!

Vertical Slice/Release Budget.
Weekly
3d/Programmer: Negotiated £354.9
Programmer: £386.8
3d Artist: £323.5
2D Artist: £339.2
14 week project.
3D Artists x 2.
4529.6 x 2
3D/Programmer x 1.
4968.6
3D/Programmer/Lead x 1.
4968.6 x 1.5 = £7452.9
TOTAL: £21480.7
Substance £15.39 a month.
15.39 x 4 = £61.56
Vertical slice Grand Total: £21542.26
Total dev time for release: (another month and a half) £53855.65
+ Marketing
4 weeks at 2D Artist Salary.
£339.2 x 4 = £1356.8.
53855.65 + 1356.8 =
£55212.45
£21542.26
+ 10% (Risk Mitigation)
£60733.7
£23696.49
+ $100 for steam distribution (£77)
£60800.5


Profit.
Selling Price: £15 on release.
As steam take 30% of your sales, and itch take 10%
Assuming 10% of our sales are on itch.
Total sales revenue needs to be
60800.5 x 0.9 = 54720.45 (Steam sales dev costs) x 1.3 = £71136.59
60800.5 x 0.1 = 6080.05 (itch sales dev costs) x 1.1 = £6688.06
Total Revenue to break even. £71136.59
Sales needed to break even: 4743.

Minimum case. (Profit 2)
£40 x 10 = £400. (Unity Pro) Additional 27 sales
Sales needed
4743 x 2 + 27 = 9513 sales
Revenue: £142,695
Profit = 142,695 – 60,800.5 = 81894.5
((81894.5 x 0.9) x 0.7) + ((81894.5 x 0.1) x 0.9) = £58,964
Best case. (Profit 4)
£150 x 10 = £1500. (Unity Pro) Additional 100 sales
Sales needed
4743 x 4 + 100 = 19072 sales
Revenue: £286,080
Profit = 286,080 – 60,800.5 = 225,279.5
((225,279.5 x 0.9) x 0.7) + ((225,279.5 x 0.1) x 0.9) = £162201.24

The differences in approach and thus different budgets, were that I wanted to negotiate a weekly salary for the project with each member based on what they would be doing.

I also did a full calculation including the % of profits each platform takes as a cut of your sales. The worst case scenario is what I the company would have to sell to maintain its current size, and make another game. The best case represents a good amount of profit resulting in company expansion.

Coral Demo Asset Development

Week three and we have been tasked with creating a test asset for project cohesion and to check our workflows.

To start this coral asset I created a generic coral mesh inspired by the photos from my coral research.

To create the mesh I used the skin modifier around a line of vertices, the skin modifier also allows you to automatically create an armature alongside the skin to allow for animations rigs etc. So that is what I did in order to create an easily editable mesh for possible later variations.

Final coral mesh.

Next up was a coral texture, I wanted to create something much simpler for these textures after receiving feedback from the art lead on my original textures. Most of the textures for our game will be subtle variations of a colour map.

As you can see form this image a lot of the texture on a coral is actually natural wear/tear on little bumps on the surface. To replicate this I wanted to create a white texture that can have a colour applied on top to allow for different types of coral with the same texture.

Simple Coral Texture

This texture is really simple and is actually going to be white, the pink demonstrates how different colours can be applied. the texture is simple a parabola tile sampler with a bit of randomness, and then levels applied to make everything a lot whiter.

basically the whole texture

There is also another levels creating the roughness map. giving the little highlights a bit of reflection.

Once in substance painter I quickly imported the material as an Sbar onto the model, and then used a triplanar projection wrapping to avoid obvious seams.

Very Bumpy Boi

Next we add a fill layer, to tone down the height. In future it might be interesting to add colour to the tips of the coral or something.

Final Coral.

And here we are with the asset setup inside of Unity.

With our colour settings its easy to change to colour of the coral using the unity inspector.

Circle Geometry

Sketches of me figuring out how to use maths to create some circular geometry.

As you can see this is how we create a circle…

Do that around a line and in theory you have a cylindrical structure.

In Unity I knocked up a quick prototype to calculate some of the values shown above using code shown below.

the result is the below graphic, which rotates with the vectors remaining correct.

Ends of the lines are the transforms of the vertices for the circle.

Next up is to add the forwards vector to the vertices to make new vertices that will be used to construct our band.

I then went about adding all the vertices to an array, and then drew circles on each vertex. resulting in the next screenshot.

To be honest I am not sure why they balls are no on the ends of the lines. But the mesh should still work, so I didn’t worry about it. I went about working on creating some triangles.

After a bit of a hacky solution of manually setting the final vertices (if i > 7 see code) we had done it. Behold a hexagon!

Not quite what I was expecting… but a start

So we have a few problems I will list.

>Normals are the wrong way round (resulting in the hexagon only being visible from the inside)

>Vertices do not line up with our sphere, where they are supposedly meant to be (possible a global vs local space issue)

>No UV’s and broken normal’s means no lighting or even a working texture.

>There is an error on the final vertex meaning the ring is not smooth and has a chunk missing (see top right)

The good thing is I actually managed to create a working bit of geometry without following a tutorial! So although it may not seem like much for 4 or 5 hours work, this thing is really exciting from my end as it means I have the basics down, now just to fix all these problems!

Coral Research

(For procedural generation)

Images that contain useful reference for procedurally generated coral.

News | NASA Tests Observing Capability on Hawaii's Coral Reefs
Ranges of different tree like corals.
Tree like with fluffy bits.
Key West bans certain sunscreens to protect coral reef - CNN
Still could use the tree base, but much thinner and feather like.
National Aquarium | A Blue View: Understanding Ocean ...
Bubbly tree like stump.
Why Should Baby Pandas Get All the Love? – Mother Jones
Long separated branches.
Dangers of the Reef | Divers Who Want To Learn More
Almost net like structure.

As I had no idea to create something this complex I looked for some examples to take inspiration from. I found one online which was great, and allowed you to download and setup the code etc.

Procedural trees example project.

form what I could decipher it seems that the trees are constructed by constructing rings of geometry around curves defined by code. This allows for a huge variety of different trees.

Stumpy
Long and spiky.
Spread Out
Thicker taller flat top.

Looking at this example I realize how much work goes into creating something like this. I doubt I will be able to create something like a coral generator in the short amount of time we have for this project (Especially as I still don’t know how, and to be frank the math in this example terrifies me). Still I am going to push on and try to create something a little more complex than my plane generator.

Generation In Unity

So with some basic research understood, it was time to move onto something I could use for the project.

Turns out FreyaDoes geometry generation as well https://www.youtube.com/watch?v=6xs0Saff940&t=20775s amazing (not all of this 6 hour stream was watch at this point) her tutorial, along with this one https://www.youtube.com/watch?v=64NblGkAabk by Brackeys, allowed me to test out making some simple mesh’s.

Plane Made In code!

There is also this blog post (from an amazing blog with great content!) https://catlikecoding.com/unity/tutorials/procedural-grid/

Which allowed me to make this…

Which, while looking like a plane, is actually a much more complex geometry. As seen below.

This was very frustrating to make, and ended up taking a lot longer than expected. Next up is making something more coral like with mesh generation.

With the UV’s calculated the plane looks like this at run-time as you can see it has a working material.

Textured Plane.

Procedural Generation

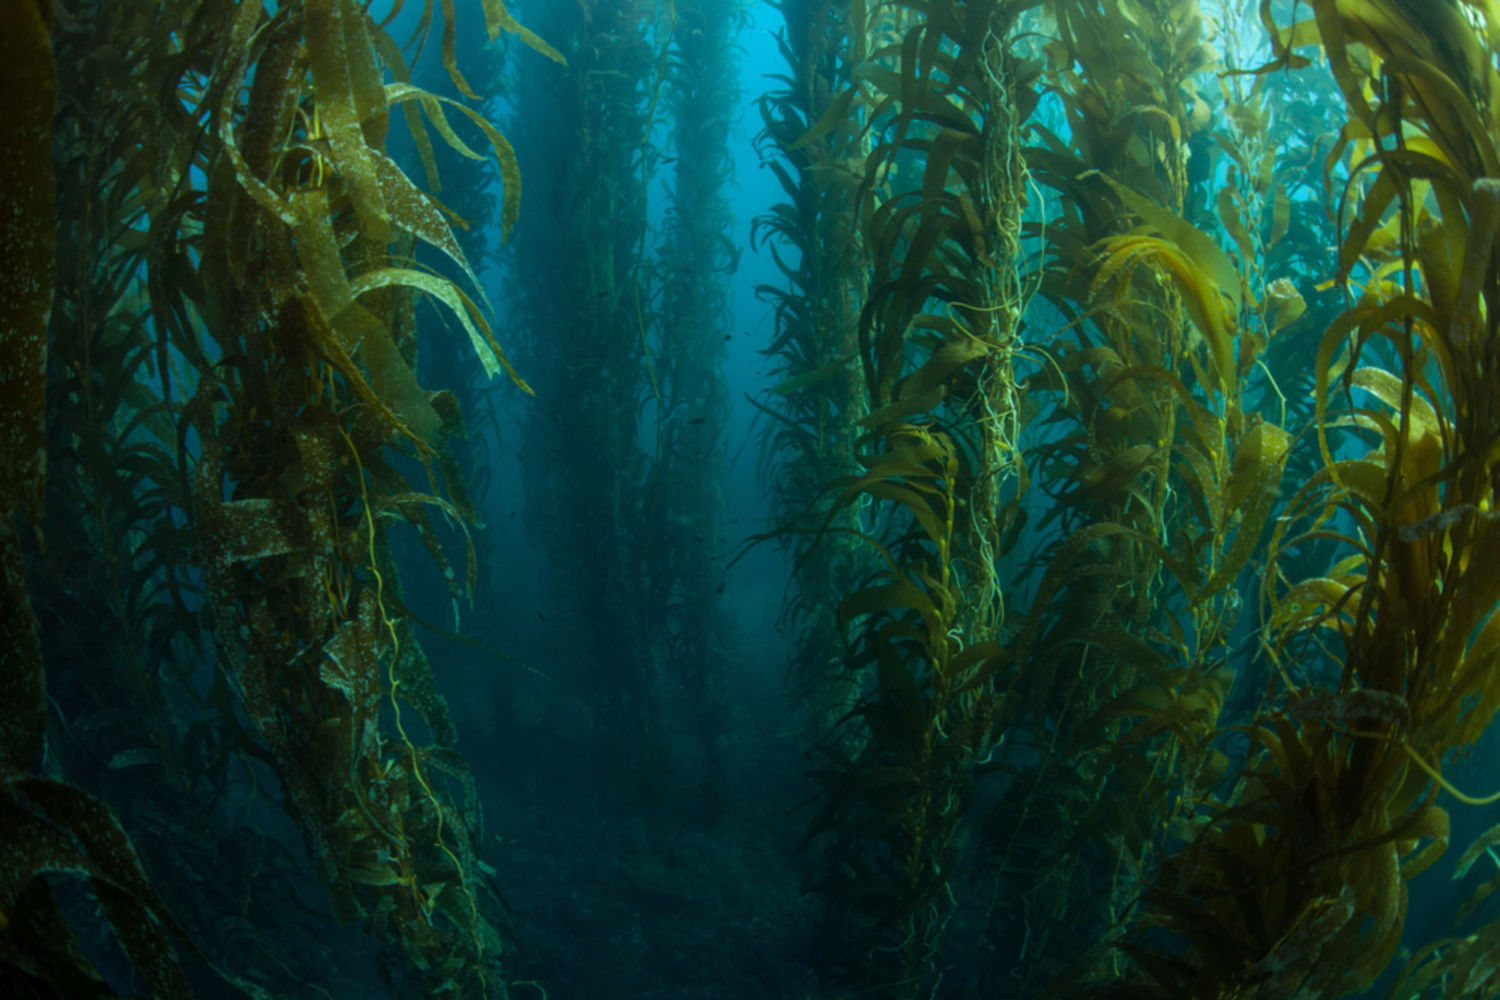
For Going home we want to do some cool procedural generation. for the coral reefs, and perhaps for some rocks etc. So this is some research Into the basics.

This talk from GDC, by Kate Compton is good for an overview. https://www.youtube.com/watch?v=WumyfLEa6bU

Her blog also has a lot of good information about generation principles and examples of her work, and others work she finds interesting. https://www.galaxykate.com/blog/generator.html

This document (can’t remember were I found it probably on Kate’s website) has more great overview information. http://pcgbook.com/wp-content/uploads/chapter01.pdf

From these resources a quick write up of the important stuff I have learnt is…

Good Procedural content generation is.

>Fast (We don’t want players to be waiting for days to play the game.)

>Controllable, real things are rarely truly random pseudo random elements often look a lot more natural than actual randomness.

>Expression/Diversity whats the point in generating content which all looks the same even if it’s actually different. (Think every oak forest in Minecraft, they are random but all feel the same.) Its a balance between identifiable as the thing you want, and something interesting.

> Creativity/believablility, does your thing look like it’s generated or natural. you want natural. But again to much naturalness written into the design can make your designs bland.

There are a lot of definitions which define different types of generation. I will only list the ones that I find that apply to what I will be creating.

Generic/adaptive : Generic describes that the content wont be affected by player behaviors.

Necessary/Optional: Describes content which is needed/ vs supplementary content for a game to function. The content will be optional, because the player doesn’t need coral in order to progress through the game.

Stochastic / Deterministic: Deterministic content will be reproducible with the same algorithm. for example In No man’s sky content isn’t saved, an algorithm simply uses the same seed to produce the same content when needed. Thus resulting in the same worlds and plants, etc being created. all that needs to be stored are the players changes to said worlds. Stochastic will produce different content each time. I plan to use a seed so the content I create will probably be Deterministic.

Constructive/Generate-and-test : constructive content is generated in one pass, as oppose to being generated then tested until a satisfying solution is found. My content will be constructive, and tweaked by the designer.

At the end of the day Procedural Content generation describes a huge range of ways to create content. So much general information is not very helpful to this specific project.

more specific behaviors/ descriptors.

Barnacling : 1 big object, a few smaller, lots of little. Looks natural.

Footing : adding a base to the bottoms of trees walls etc, anything that shows a bit of interaction as oppose to a perfect intersection really helps with a natural look.

Greebling : (Thanks star wars) coined from George Lucas sticking things to things to make star destroyer textures… Sticking things to other things. to make them more natural.

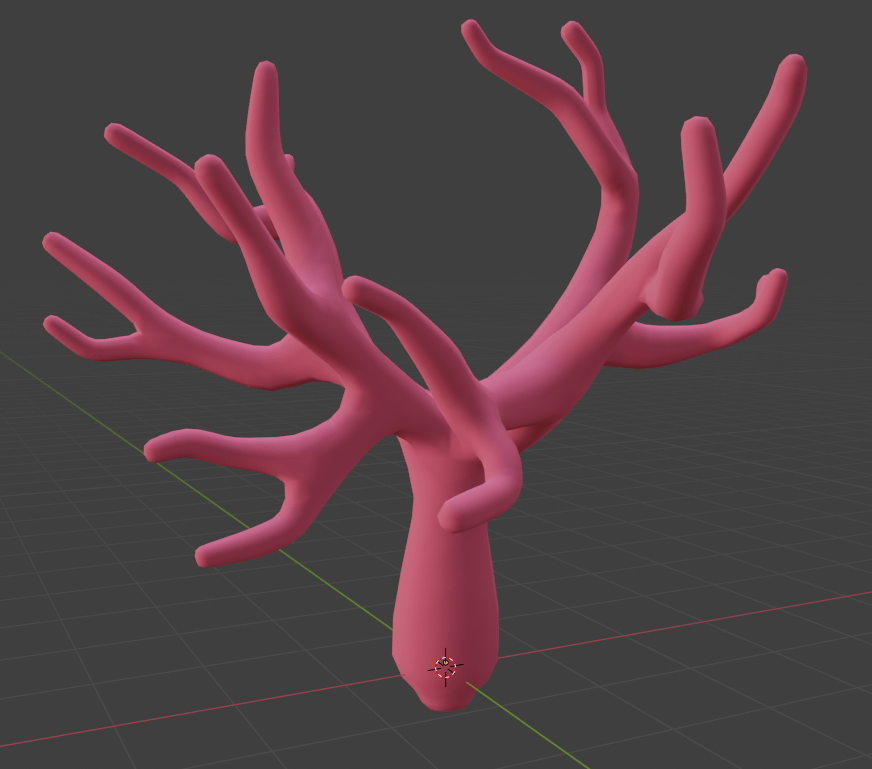
Parametric: Basically describes the method I want to use to generate the coral. It describes taking parameters and then outputting a different random thing incorporating those parameters.

Parametric algorithms can then be put through a genetic algorithm. (Not something I will use because I don’t need to, but interesting to note.) For example you could find the versions of the algorithm which create the tallest coral, or the most colorful.

Interpretive: Starts with input, and interpret it. Usually make it more complex. Incorporated into most algorithms in the form of some sort of input (seeds).

Simulations : Can be used for interesting more natural looks. Runs some sort of algorithm to create a desired effect based on actions taking place. (fluid sims particle sims etc.)

Grass Development

The shader for the grass in Going home was very similar to what Harry created on his blog (see previous post)

As I still lacked the knowledge to create shaders form shaders from scratch I decided to try and adapt Harry’s grass shaders into something usable for Going Home.

Here is what harry’s shader looks like on it’s own. (with a rudimentary noise texture form the internet applied to the wind displacements. )

(It’s a lot smoother when its not a giff running at 10fps)

I wanted to try some different noises to achieve a more uniform effect, and also needed to figure out how to place the shader onto the floor plane.

Grass Demo so far.

Using a quick 3D model from blender with two materials I was able to demo How the grass might be implemented into the scene. as shown above. The floor needs to respond to shading like the standard shader though. So more work is needed.

Shader Research

This is going to be a compiled list of notes about my shader research. A lot of this is just going to be reading, as I am going in almost completely blind.

https://thebookofshaders.com/ Is a great interactive resource. helped me learn the basics.

Harry (A guy I found on twitter) makes some great beginner tutorials for Shaders (The best I have found anyway) https://halisavakis.com/category/blog-posts/my-take-on-shaders/page/5/

This page https://halisavakis.com/my-take-on-shaders-introduction-to-image-effects/ in particular is very helpfull. I haven’t actually found any resources like this anywhere else. Everyone is busy doing shader graph.

These Videos https://www.youtube.com/watch?v=T-HXmQAMhG0&list=PLJ4rOFLQFH4BUVziWikfHvL8TbNGJ6M_f Were also helpful for basic shader knowledge.

This I created following Harry’s tutorials.

This tutorial by Freya Holmér https://www.youtube.com/watch?v=9WW5-0N1DsI&t=4011s is great!

It really explains everything about the different parts of shaders. She is also the creator of shader forge. http://acegikmo.com/shaderforge/. Which I may be looking at later.

Basically from this video.

>CGProgram is the shader language.

>#pragmas(s) define the vertex and fragment shader names (and i assume other shader names in other shaders, such as surface shaders.)

>#include, are essentially libraries. they import a load of functions from a document.

>appdata(VertexIN) gets mesh info

>v2F(VertexOUT) converts mesh info to camera data. global space > local space.

And while this understanding is very rudimentary. Its sure a lot more than I understood before watching the video.

Working with better understanding and a lot of googling, I managed to animate my shader from a script.

Another Harry tutorial, And I am making a sphere dissolve/show around the Pusheem.

This website found on Harry’s blog contains a great number of shaders, and demo’s of how shaders can be used. http://shaderslab.com/shaders.html

Design a site like this with WordPress.com
Get started