This is going to be an in depth look at the methods I use to create my textures. Specifically the brain coral Texture. (Shown below)

The methodology for most texture I create is to start with height information, once you have a strong height map you can use this to inform your colour and roughness/metallic designs.
However when doing simplistic stylized textures like the ones for this project, Its often simpler to start with the shapes you want to create, and not necessarily assign said shapes to the height properties of the texture (as the textures are so flat). However for this texture the shapes are defined using height initially, and thus it’s a good demonstration of my general texturing workflow.
As mentioned the first thing to do is to define the height map. When doing this it is good practice to define the large shapes first, followed by the smaller shapes. (I am mentioning this to show understanding, even though this texture will only have large shapes)
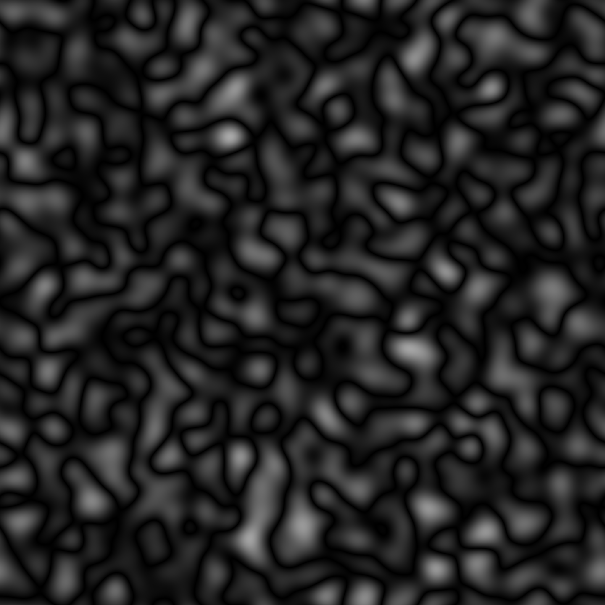
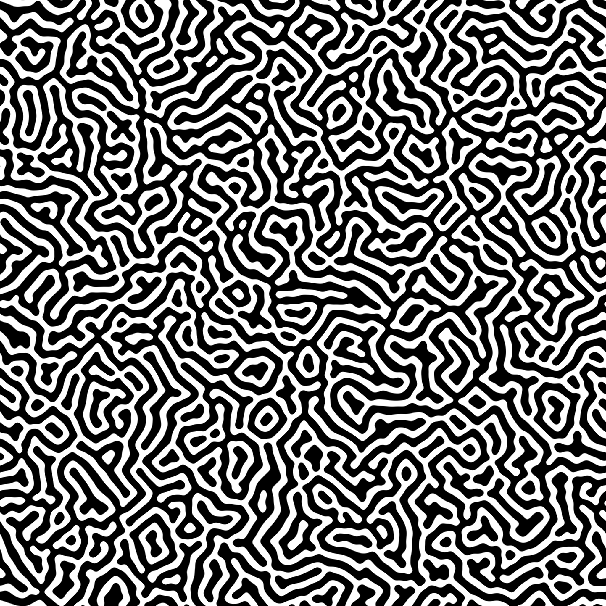
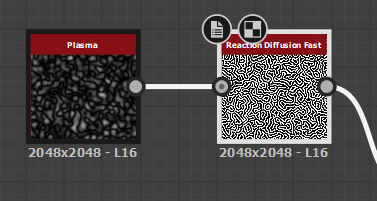
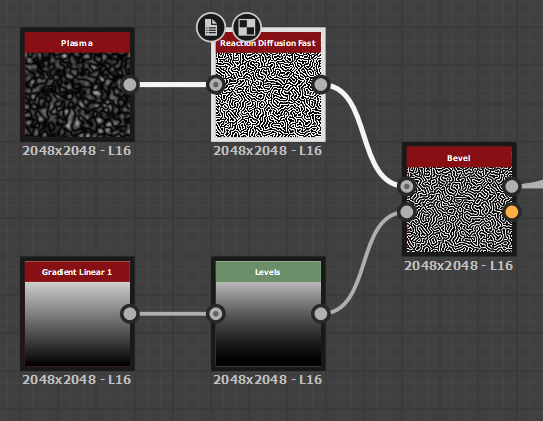
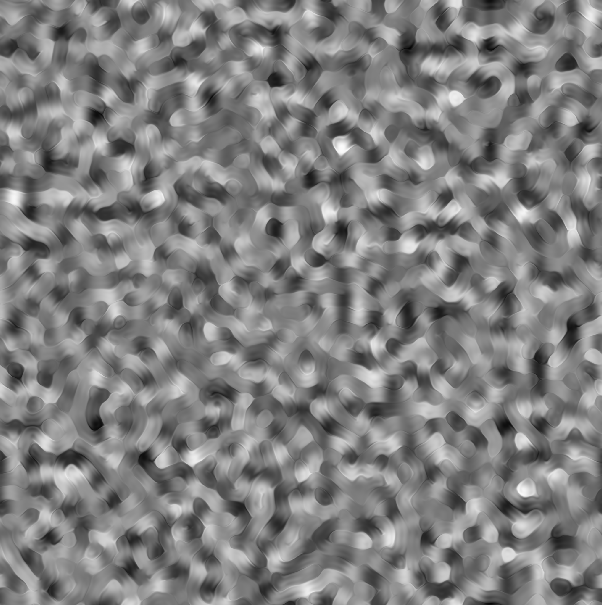
To define the shapes we want we can use the Reaction Diffusion Node. Which will create lines following gradients on another texture. turning this Plasma Texture.
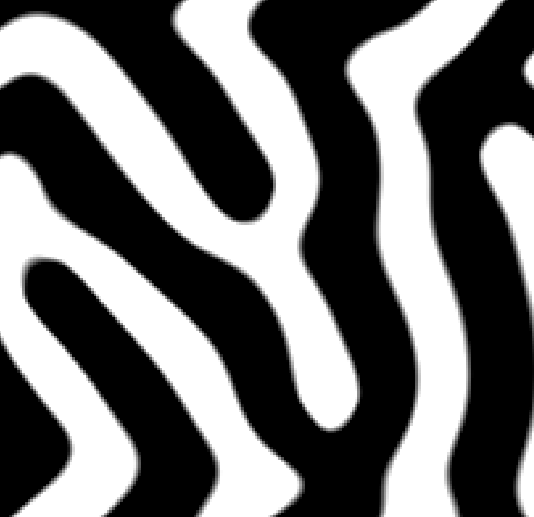
Into this flat black and white texture.
All this looks like we have created the shapes we want already, but plug this texture into the height and normal maps for the texture and you will see the shapes look very artificial and rigid.

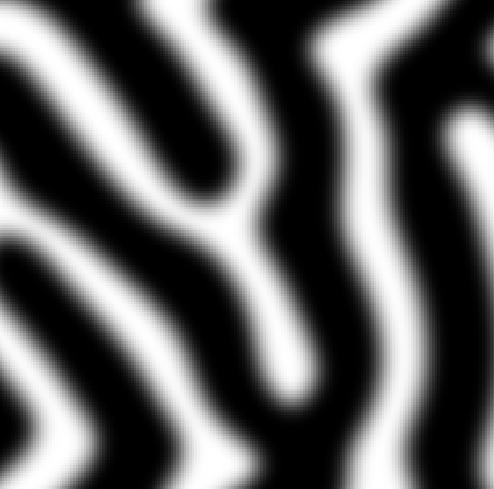
To fix this we can plug in a bevel, with a custom curve (defined in designer by using a gradient with levels applied for more control. )
the result of which (after some experimentation) turns this.
Into this!
The effects of which really show in the 3d View.

The next thing to do is to assign some colour, I knew from referencing that most coral of this type was yellow, so I went for a yellow colour. This is also the stage where I turn the roughness up to fully white, and the metallic to 0 (fully black). So reflections wouldn’t mess with my coloring, Also coral is basically completely rough anyway, so this will probably remain this way.
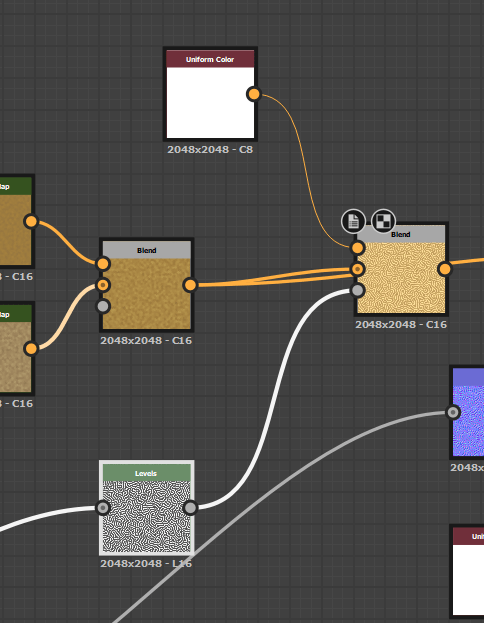
From the coral textures I had created before I knew a good way to create colour maps, was to merge two perlin noise textures with gradient maps applied to them for hue variation together. So I went ahead and created two of these textures with different random seeds so they looked different, and then also warped them slightly using Dete’s directional warp (Which is a utility node created by Daniel Thiger https://www.artstation.com/dete All it does is apply warps in 4 directions instead of having to hook up 4 individual warps to achieve that effect, which saves lots of time). The warping makes the colours follow the height of the texture making it look a lot more natural.
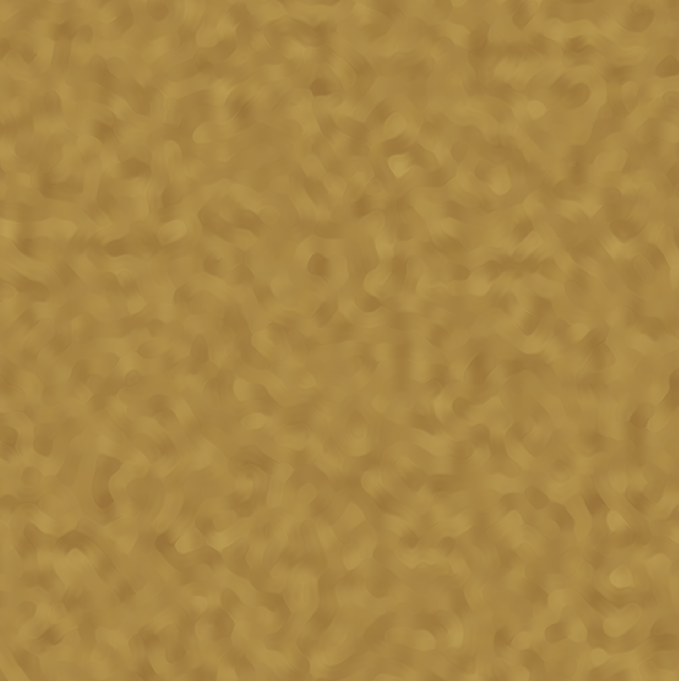

As you can see the texture looks ok. But its a little too flat for my liking at the moment (Although We may have to turn a more dynamic texture down later for cohesion with other textures.) Its easier to tone down textures than to retrospectively make them more detailed. So I want to add another layer of information, something that further accentuates the height. Many rocks/coral have white patches where high parts have been damaged, so I want to add a light layer to add this effect. This is done by using a linear dodge blend node using the height map as the mask for where to apply the effect. First we edit the height using a levels node, as I actually want a slight bit of white applied to the whole texture for later colour grading.

then we blender a flat white colour node, with our current colour map, using this new height map as our opacity.
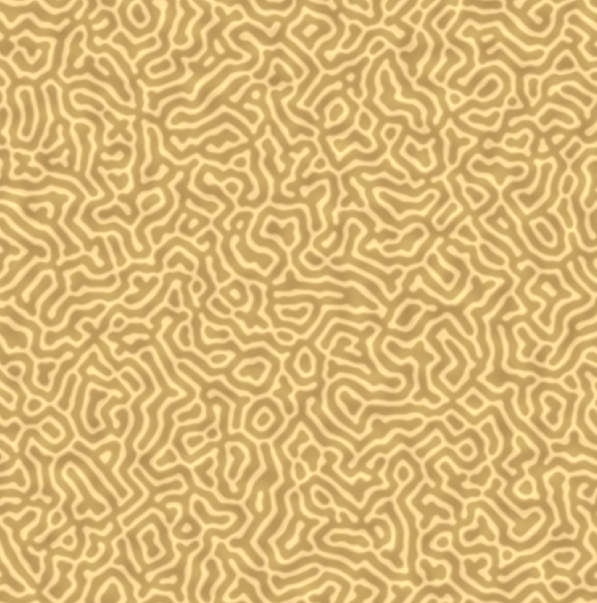
And that’s a wrap. I chose to leave the Roughness and metallic maps as they were. As the texture looked good already.
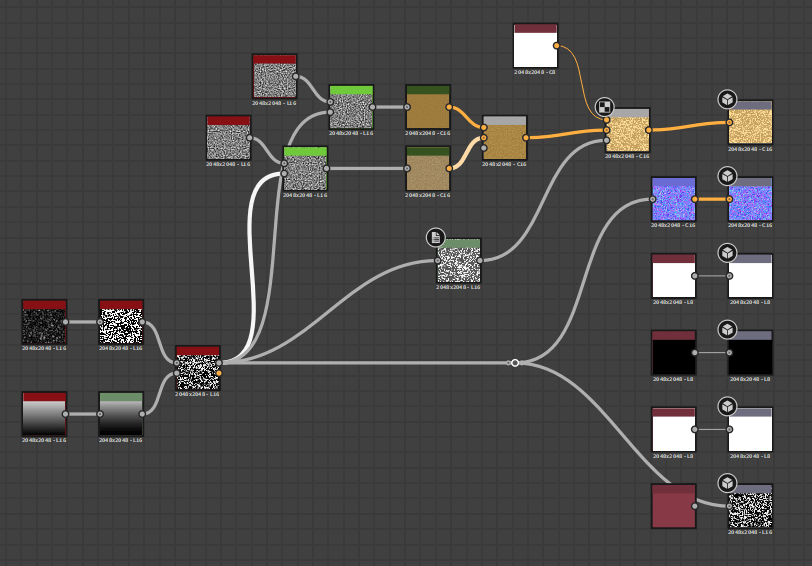
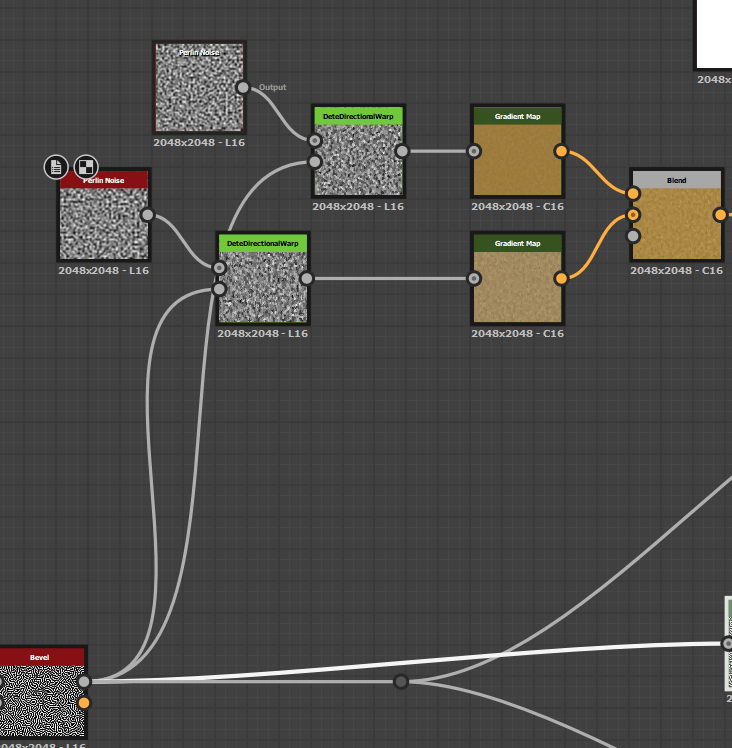
Final designer graph shown below.